Welcome to our step by step guide of how to install a mains fed water cooler. The steps of fitting your water cooler are pretty simple, but we are here to help you understand what to expect once your new water cooler company arrives at your site.
Step 1 Booking your site survey
We always recommend booking a site survey for each individual installation so we can assess your area and whether it’ll be suitable for the water cooler. We also check access to the building – availability of lifts etc to ensure that we’re e properly prepared with the correct equipment for your installation.
Booking a pre installation check is vital to enable the smooth installation of your new water cooler. Since many water coolers are ordered online these days, it’s important to insist that your new water cooler company doesn’t skip this step to save themselves some time. Before you sign your new water cooler contract, you should make you get a proper pre installation site visit.
Step 2 Checking your potable water supply
Before the cooler is installed the installation engineer will re-evaluate the source of the proposed water supply by visual inspection of the pipe route, inspection of building plans and discussion with building management. Once identified water pressure of this supply is tested by us.
Step 3 – Fit the water cooler installation rail
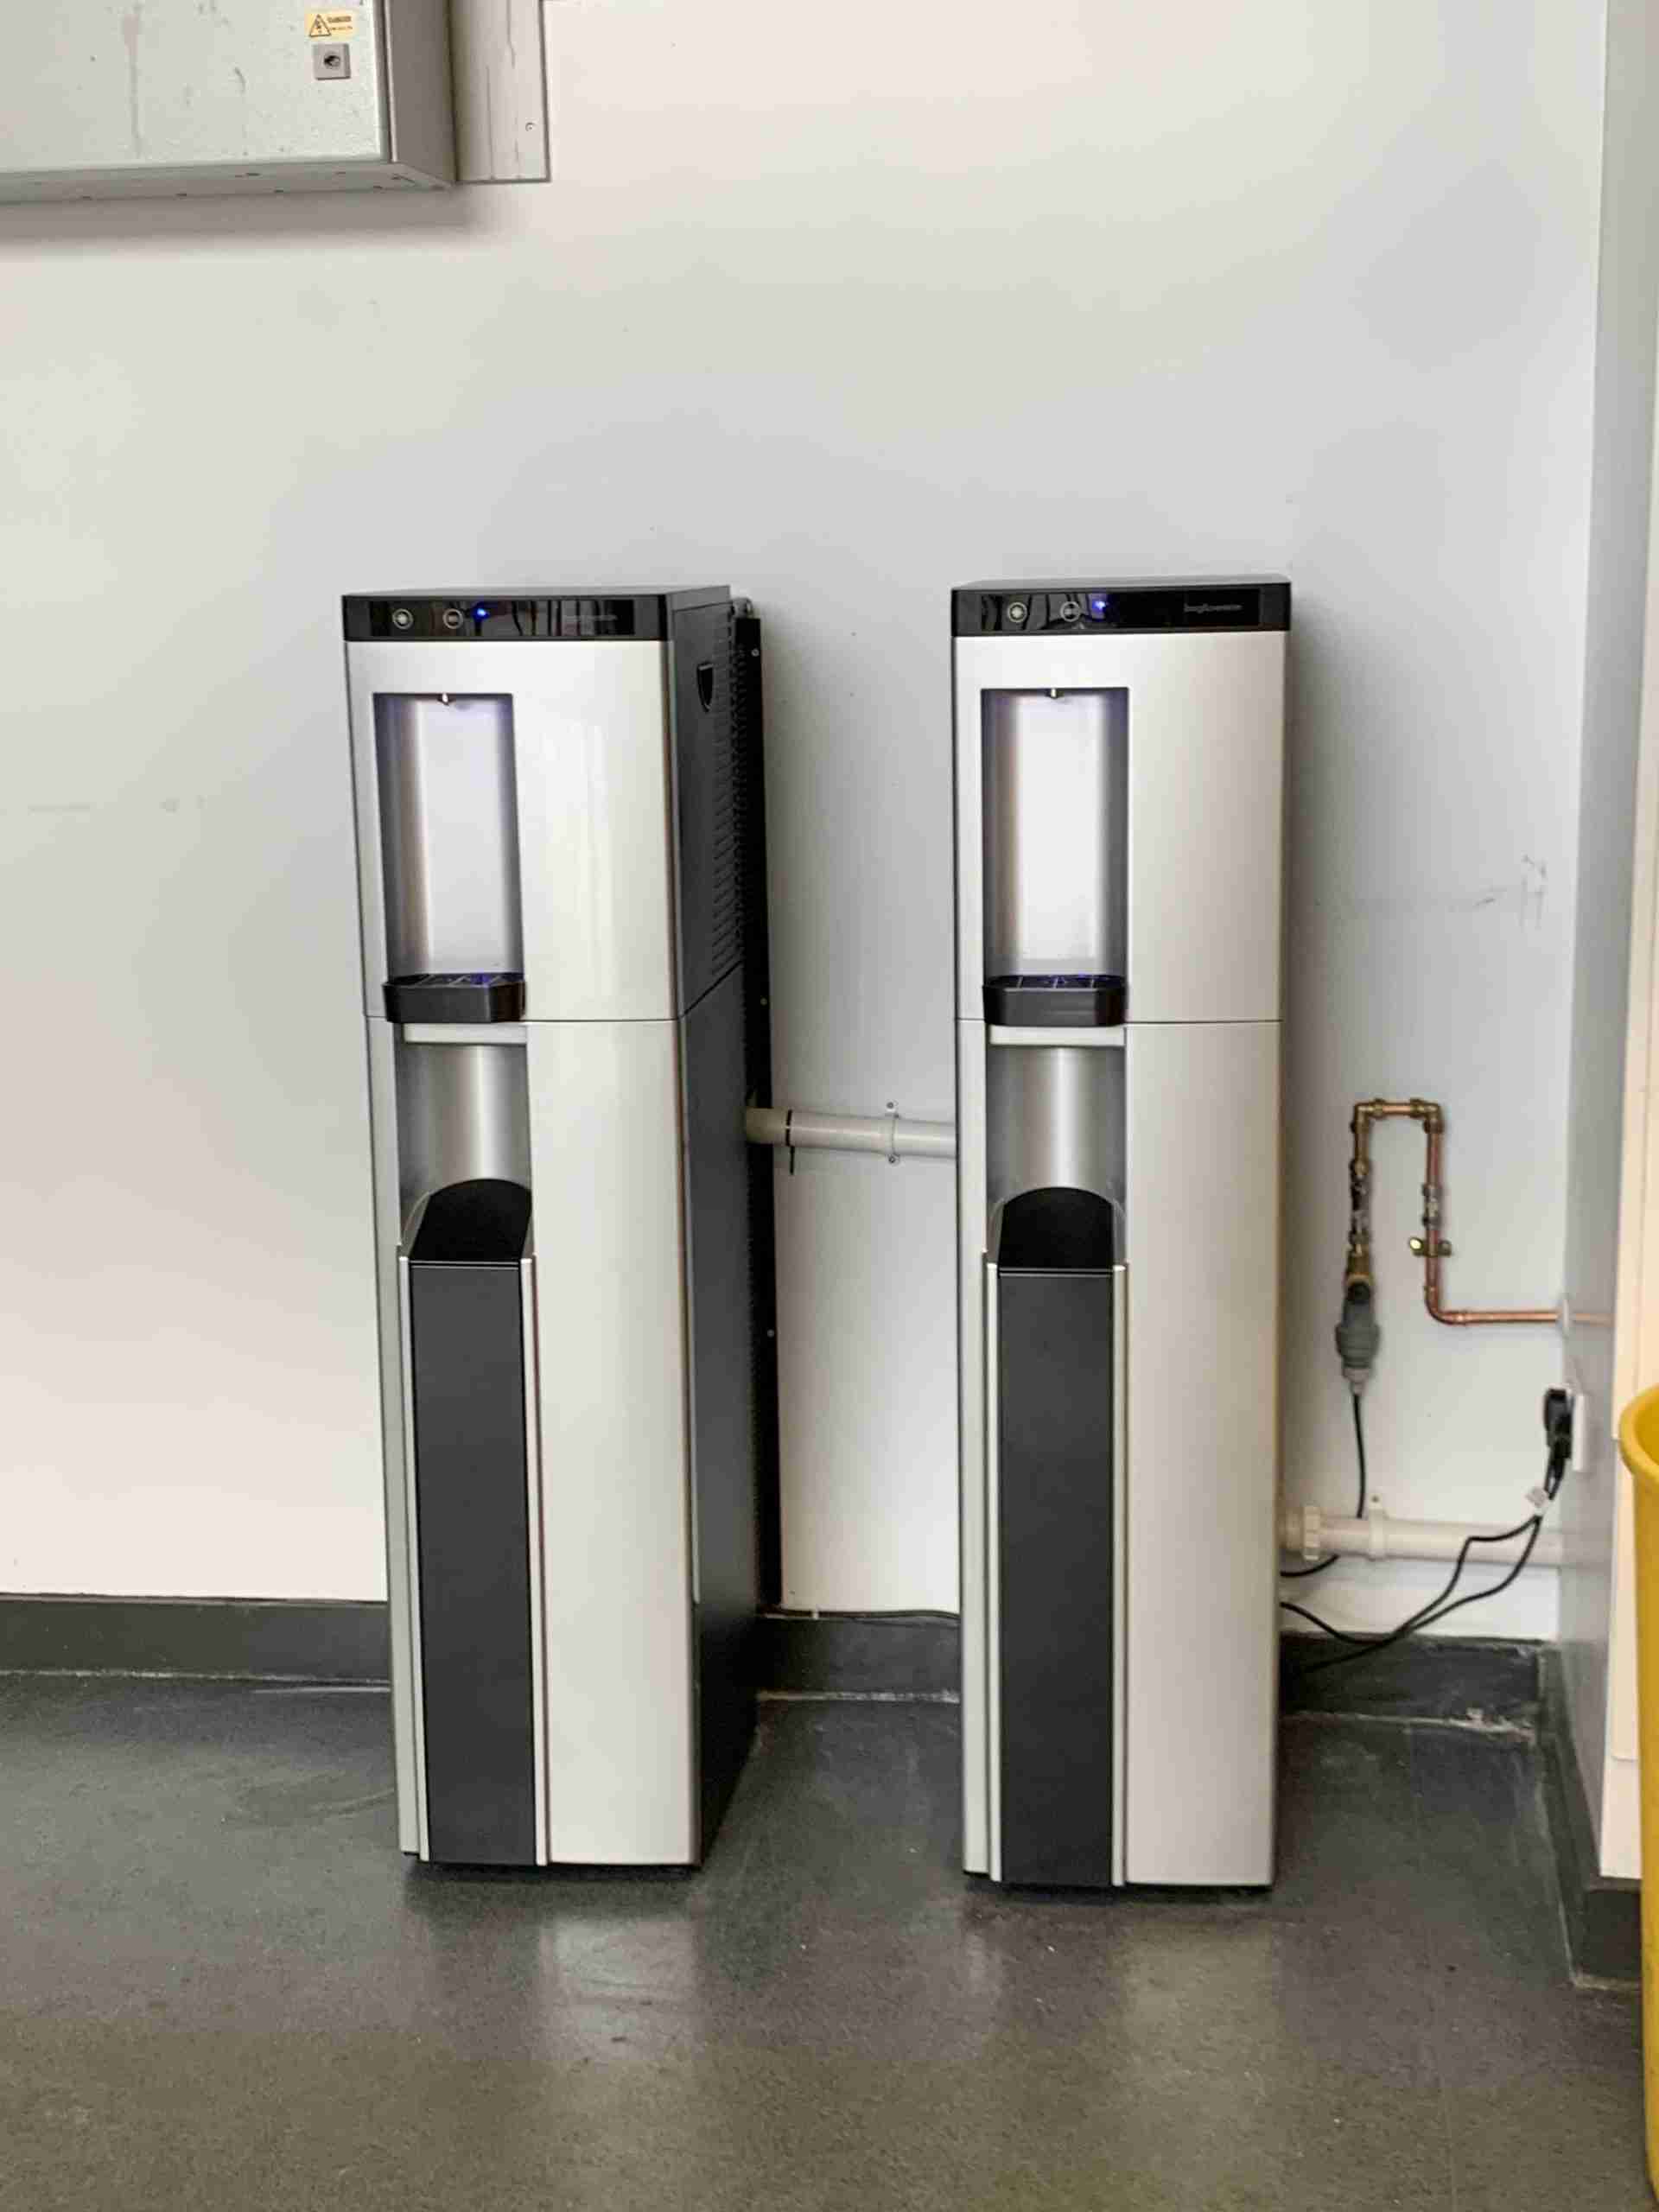
WRAS approved supply valve assembly is connected into the 15mm supply pipe, this assembly consists of T Piece, Non Return Valve, Pressure Reducer and a Water Block anti leak device. This is also known as a water cooler installation rail – We’ll be fitting this as far downstream as we can, most likely under your kitchen sink.
Step 4 Connecting to your water supply
WRAS approved ¼ bore blue tubing is connected to the installation valve and then run to the machine installation site. Care is taken to keep this run to a minimum. We use no intrusive 6mm John Guest micro bore tubing. We’ll avoid any heat sources, light fittings, electrical or gas installations. Feeds more than 15 metres in length are fitted with alternative suitable 10 mm piping. The tube is secure along its length and where ever it is exposed to the office environment it is securely fixed and/or concealed by trunking. Where necessary the tubing is also lagged to avoid freezing or high temperatures and clearly labelled ‘potable water supply’.
Step 5 Fitting your filter.
We will fit an approved WRAS approved water filter, rinse filter housings if applicable, flush filter with at least 3 litres and fit to unit. All filters are hidden away inside your water coolers cabinet.
Step 5 Connecting your unit to electricity supply
Our units are designed to run from a standard 13amp wall socket supply, but don’t worry we can do all of this for you! One thing to bear in mind here is that we’ll need to make sure your water cooler is located within 3 metres of a standard 3 pin plug socket.
Step 6 – Turn on water supply & test your machine.
Your machine is then turned on and set to the required running temperatures using the machines CPU controller. A full operational test is then carried out by our engineers who will inspect your new water cooler for any leaks or abnormal operation.
The Thirst Alternative will always sanitise every cooler at your site, we fill follow this procedure on every visit.
We can also fit cup dispensers if you require them.
Step 6 – Personalisation and clean up.
Warning labels will be added for hot water, service contact number by us. All other Thirst Alternative labels will then be applied to your machine. Your service due card is then applied to back of machine (or handed to person responsible if preferred) Serial number is recorded as well as location of the machine. The location of the main shut off valve will be added to the rear of every service card.